Fun fact, I've
been trying to write this blog for about two weeks but have been getting
distracted with crafts every time I pick up my laptop.
Fun fact 2, I
got a new laptop. It's purple, and pretty.
Aside from my
ridiculously extravagant purchase (side note: it was necessary) I have also
been on holiday this month! My boyfriend and I booked flights back in November
to Krakow after a bit of a rave from me after my time there. We got a pretty
damn good deal and before spending money the whole holiday cost about £200 per
person for 6 days, and even after trying my best to live the life that I
couldn't afford to when I was teaching I still came out £100 under budget with
my spends. So yeah, go to Poland.
So on Thursday
the 5th February (after arriving at the airport 2.5 hours too early and losing
a hat en route) we finally landed in Kraków around
lunchtime. In true Kat style I refused to let us get a taxi so dragged us onto
a bus - which to be fair, cost 12 zl compared to about 100zl so I was right.
I'm not going to
a chronological account of "What I Did On My Holiday" as that would
go on forever, instead I thought I'd review a few places and must sees...
1. Wawel Castle.
(Vah-vul)
My family and I
went to holiday to Kraków when I was 18,
and we never saw Wawel. I am not entirely sure how this was possible seeing as
it's a massive fortress in the centre of the city, but I guess you can blame
the beer. What I've always loved about the castle though is that the grounds
are open free of charge, I've never been inside the castle itself (as going
into the Cathedral is cheaper and you get a free visit to the JPII museum
afterwards), but the grounds are spectacular by themselves, and so if you're on
a budget break that will suffice. Also at night it's lit up quite beautifully
and they have a statue of a dragon that breathes real fire. What more could you
want?!
|
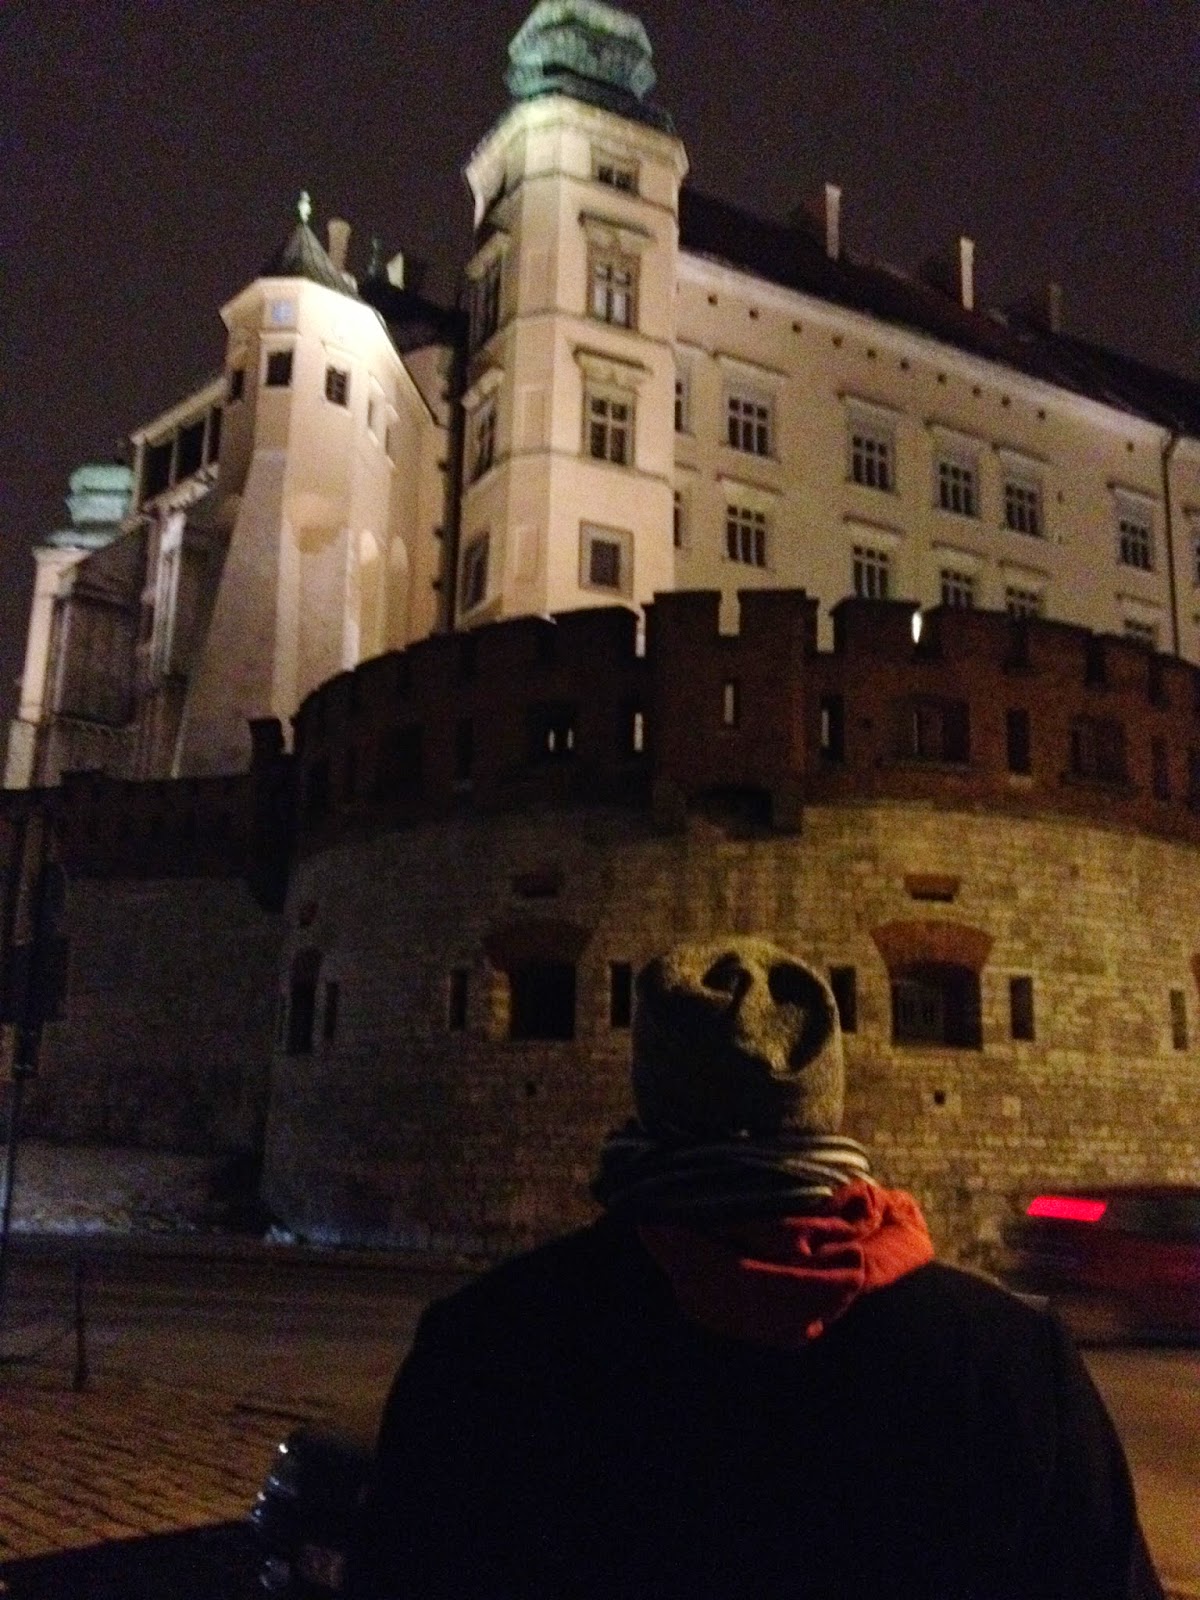 |
| Danny was in awe. |
|
2.
Auschwitz. (Owsh-witz)
No,
I don’t have any of my own photos from Auschwitz-Birkenau, because I was there
to learn about the DEATH CAMP. Not create a ‘look how cultured I am’ Facebook
album. I’m sorry if that offends anyone, but taking photos in places like
Auschwitz is genuinely one of my pet hates. Sure, take a picture of Arbeit
Macht Frei if you must do, but for everything else please put it away. In our tour-group
there was a group of girls who took photos of LITERALLY everything. At one
point Danny saw one of them hold up her camera, take a picture, and walk away
from an exhibit, without even looking at it herself. Apart from being (in my
eyes) seriously disrespectful, she wasn’t even taking in the (harrowing)
experience that she’d paid good money for. It just infuriates and disgusts me. Rant
over.
In
all honesty, I believe everyone should visit Auschwitz at some point in their
lives. I’m not going to lie to you, it is far from being an enjoyable
experience, but it opens your eyes to a part of history that we only learn so
much about in school. It has been kept and preserved as a reminder of the
torment and evil that was experienced not even 100 years ago. We still need to
learn from what was practiced there, as well as learn that it can’t be buried,
even 70 years later.
Last
month will probably be the last time I visit Auschwitz. I have now been there
twice, once when I was 18 in the height of summer, and then again 8 years later
in the depths of winter. Both times affected and shook me deeply, as well as
teaching me more than books ever could. Neither times did I take a photo.
3.
Zakopane (Zak-oh-pan-ee)
So
this isn’t a part of Kraków, but
rather a mountain town about 3 hours away (4 if you cleverly go in the depths
of winter during a very heavy snow drift). When I was teaching last year I had
many of my students insisting that I MUST go to Zakopane, however my time in
Krakow flew by and my money was always disappearing fairly quickly so it wasn’t
possible then. However, right before we left we realised our 6 month anniversary
(yeah, we’re THAT couple) was on the Sunday that we were away for and so we
booked busses and hotels for a mini holiday within a holiday.
The
place is BEAUTIFUL. As many of you will know I love snow more than I love life
itself half the time. The snow boots were out, there was always a foot or two
to walk through, and everything just looked magical all the time. We arrived on
the Saturday night and after doing a spot of shopping we found a snow covered log
cabin with an Oompah band playing in the corner and very cheap beer. (we were
fairly tipsy and the whole bill came to £11).
 |
| Bad Polish leads to big beers |
The next morning we decided to
leave early after a breakfast of cake as the snow was getting so bad that we
wouldn’t have made it to the centre of town, especially with luggage, so we
walked to the bus station. I have never seen snow so heavy or so deep. This was
the aftermath of our 15 minute walk...
 |
| My hair was frozen |
One of the things I really love
about Poland is the fact that 9 times out of 10 you needn’t book travel in
advance. You can hop on a coach on the day and it costs no different. We’d
already booked with PolskiBus.com to travel back to Kraków that evening but due
to the snow paid 15zl for an earlier bus. I got momentarily annoyed by this
inconvenience, and then Danny reminded me that that’s £3.
4. Kazimierz (Kahj-ee-meersh)
Another part of the city that I didn’t see
when I was 18 and drunk, was the Jewish Quarter. Located south of the Old Town,
Kazimierz is definitely an artier, more bohemian district. The bars and
restaurants are second to none, and in the centre there is an entire square of
Zapiekanka (read here for more info on that gem... http://en.wikipedia.org/wiki/Zapiekanka)
 |
| I've never been happier |
History plays a big part in
everyday Kraków life, and it’s no different down in Kazimierz. Look beyond the
drunk tourists and you’ll see beautiful architecture, educational street art,
and still a lot of Jewish culture. One of my favourite places is the Jewish and
Holocaust bookshop at the end of Ulica Jozefa. It holds a library of books in
differing languages all relating to the war and the Jewish history. It also
sells maps and Hebrew alphabet books.
As well as this bookshop
Kazimierz hosts some of my favourite bars – Mechanoff on ul. Estery, near
Alchemia (where you must walk through a wardrobe to get to a different room in
the bar ... NARNIA); Klub Wodki on ul. Jozefa (the bar man recognised me after
a year away, cringe); the Singer Club on ul. Estery as well (old Singer sewing
machines are set into each table, heaven for me) and Kolanko on Jozefa. There
are so many more, but these are by far my favourites.
5. The Old Town.
So you can’t write about Krakow
without referencing Rynek Główny (its beautiful main square) with Kościół
Świętego Wojciecha (St. Adalbert's Church) towering over it. The beauty of this
place hits you as soon as you see it. You can spend hours, days even, just sitting and taking it in. I don’t feel like I need to say much about this
place, because photos speak for themselves. Just be sure to explore the streets
which lead off from it, because they are full of hidden gems.
On the Sunday night we had been
for dinner at the Hard Rock Cafe on the square and wandered out afterwards to
find a place for a drink. As soon as we step outside we hear a piano being
played, and go to investigate where it’s coming from. Low and behold, a small
cafe in Sukienicce (sook-ee-nee-sah) with a grand piano being played and a free
table by the window, looking out at the square. I swear I have never had a more
romantic moment in my life and I would have vomited if I’d seen any other
couple sitting there holding hands and gazing out. Of course that only lasted 5
minutes and then we had a thumb war tournament.
So there we are. My 5
highlights/must-see’s of my recent holiday to Kraków. We stayed in the Goodbye
Lenin Revolution Hostel on Dolnych Młynów which was £9 per person per night for
a deluxe double room with a private bath. We were seriously impressed and I
wouldn’t hesitate to recommend it. (http://goodbyeleninhostel.com/)
So there we are, hope you enjoyed. Do zobaczenia wkrótce czytelników!
Kat xx


